Getting Started - Cucumber
A quick intro
Follow the Installation instructions here.
1. Develop
Chimp assumes you have a folder called ./features in the directory you run it from where your CucumberJS feature and support files reside. If you don't have any feature files or don't know what that is, please see the Key Concepts section below and then run through the tutorial to get up to speed.
chimp --watch
Chimp will watch your feature & supporting files directory and rerun any features/scenarios that have the tag @watch.
By default, Chimp starts a Google Chrome browser window. This is where your specs will run and you can use this window to see the automation as it happens. Chimp also ensures the same window will remain open between your specs rerunning so you won't get an annoying window popup.
The watch mode is designed to keep you focused on the task at hand. The idea is you work on a scenario through to completion, and then move the @watch tag to the next scenario.
2. Test
You've now finished your tasks and are ready to commit your code. If you want to run the build locally you can run all the tests using this command:
chimp --browser=firefox
Chimp recognizes that you're not in watch mode and will run all specs, except those with the
@ignore tag.
Notice how you can use a different browser. It's a good practice to develop using one browser and run all tests with another.
This same command can also be used on CI servers. You can tell Chimp to output the CucumberJS report to a JSON file like this:
chimp --jsonOutput=cucumber_output.json
This is a good build artifact to keep for traceability, especially on CircleCI where these files are natively supported.

##Learn the Fundamentals of Testing, Specifications and Become a Chimp Ninja!
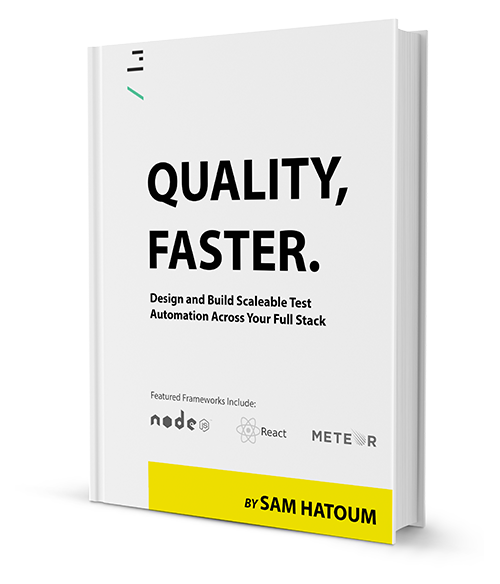
Checkout our new book where you can learn how to can use Chimp across the Full Stack from React to Node.JS, Mocha, Meteor and more.
Quality, Faster. By Sam Hatoum, creator of Chimp.
Updated less than a minute ago
